If you grew up in the 1980s playing 8-bit and 16-bit games such as Mario or Sonic, you might be familiar with their unique visual style. Which consisted of pixelated graphics and the usage of graphical tricks like “parallax scrolling” to provide an illusion of depth in what were otherwise simple 2D side scrollers.
The pixelated characters you saw on your TV screen were comprised of 2D bitmaps known as “sprites”. But sprites aren’t a forgotten technology of the past, which disappeared after the appearance of 3D models.
In fact, they are extremely popular in many of the 2D indie/ retro games you can play today. The methods by which sprites are drawn and animated have changed, but sprites themselves are still here. And if you’re interested in becoming an indie dev, you might want to check out how sprites are designed.
So, what are sprites? Sprites are two-dimensional images or animations overlaid into a scene. They are the non-static elements within a 2D game, moving independently of the background. Often used to represent player-controlled characters, props, enemy units, etc., sprites can be composed of multiple tiles or smaller sprites. They can also be used for pseudo-3D sprite scaling like in Super Scaler, Mode 7, or in pre-rendered movement. More recently, sprites are also being used in web design (like the CSS sprites which combine lots of small images into one sheet to improve web page load times).
Most home consoles back in the day were severely limited in terms of memory size and speed because RAM was so expensive. This meant that developers had to execute some really ingenious strategies to create these awesome gaming experiences.
Only a certain number of sprites could be displayed on-screen at any given time, and the main character’s sprites were often composed of multiple tiles.
Large bosses would take up all the tile budget, so developers reduced the tile cost by only using sprites for certain sections of the boss’s body (like wings) and creating the rest of the body from the game background itself.
This is why certain games would turn the entire background black during a boss fight to hide the fact that most of the boss is actually part of the background itself. They would scroll the background to make the boss move, a trick used in games like Mega Man.
In this article, we shall take a look at the history of sprites and the role they play in gaming today. We shall give you a basic idea of how sprites are animated, along with the reasoning behind the usage of sprite sheets to enhance performance.
The History Of Sprites In Gaming

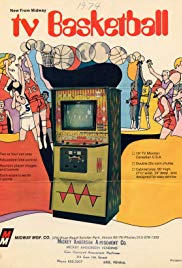
It should come as no surprise that the very first sprites in gaming were used in arcades. But not until the mid-70s, which saw the first instance of sprites being used within a game when Taito released “Basketball” in 1974.
Initially launched in Japan, it was imported to America under the name “TV Basketball”. The first recorded instance of humans being represented in a video game, TV Basketball had a total of 6 sprites- 4 basketball players and 2 baskets.
Then came Speed Race, in the same year (1974). It took things a step further by implementing sprites with collision detection. This 2D game featured pixelated race cars moving along a vertically scrolling track. Later in 1977, the Taito Z80 arcade game board came out along with the game “Super Speed Race”.
Now you had support for up to 16 sprites via hardware, with the ability to display up to 4 sprites per scanline. Each sprite could be as large as 32 pixels, containing as many as 15 colors.
In the 1980s, pseudo- 3D graphics were implemented through sprite scaling which is an early form of texture mapping. Using this technique, developers would scale each line of pixels by a different factor, to provide the illusion of 3D.
They would also rotate the background in combination with scaling sprites to further enhance the optical illusion. After Burner, a flight game released for the Sega X in 1987 is a great example. Most of the early games that used sprite scaling were racers, like F-zero for the SNES (1990).
Moving on into the modern era of gaming, 2D sprites were often used within 3D environments to cut down on resource utilization. Billboarding is one such instance, in which objects that always face the camera are constructed with sprites to fool the player into thinking that it is 3D.
It is also a form of sprite scaling and was used to render objects like trees in early 3D games. Very rare in modern 3D games, but still found in low budget titles when stuff like smoke or foliage needs to be shown. Xenoblade chronicles and Catacomb 3-D are examples of modern games using sprites in this fashion.
How Sprites Are Drawn
Traditionally, there have been two main methods we use to draw sprites- Buffering/ Blitting, and Hardware sprites. Using the buffering tactic, a CPU or dedicated graphics processor chip will modify a frame-buffer held in RAM.
Sprites are processed through a display list, the background behind moving objects being constantly refreshed. Double buffering is required to prevent flickering and tearing, but the main advantage of this technique is that you can have more moving objects with higher complexity (larger sprites for example).
The downside? It requires a fast CPU or GPU, along with a high amount of RAM (back then 16KB was considered a lot of memory). In the 1980s, only arcades could afford to use this method since home consoles had limited processing power.
The second method of drawing sprites doesn’t use bitmap data from the frame buffer. Instead, it floats the sprites on top of the background. Much like a ghost, which is where the term sprite may have come from.
Using the hardware method you are reducing the processing power needed, which is why home consoles implemented this technique. But it also places severe restrictions on how many moving objects you can have on the screen at any given time.
Which forced developers to change render priority of sprites in real time, causing the distinct flickering effect that you see in many of the old console games. The Nintendo Entertainment System (NES) and Sega Genesis used this technique.
These days, computers and consoles have grown powerful enough to draw large high-resolution sprites. We have plenty of memory, really fast CPUs, and dedicated GPUs to handle hundreds of sprites within a single scene.
Artists back in the day would draw sprites pixel by pixel, using colored graph paper and custom-built hardware like the Sega Digitizer System. Now we have Photoshop, tablets, Unity, and various other tools to create sprites.
Some artists scan in hand-drawn artwork and trace it over to software. And not all sprites have to look pixelated unless you’re going for that retro look. One trick is to draw images at a high resolution and scale it down.
Krita and Gimp are popular tools for creating sprites, some developers will also create the graphics in 3D and convert them into 2D.
How Animating Sprites is Done?

We have talked about how sprites are non-static objects which can move independently of the game background. But it would be really weird if your protagonist just skied along the terrain without moving any arms or legs, like an inanimate object.
To breathe some life into your sprites, you’ll have to “animate” them. There are many ways to do this, and several tools which will give you different results with varying degrees of smoothness and detail. The most basic way to animate something is by showing multiple images in quick succession to create the illusion of motion, like movies.
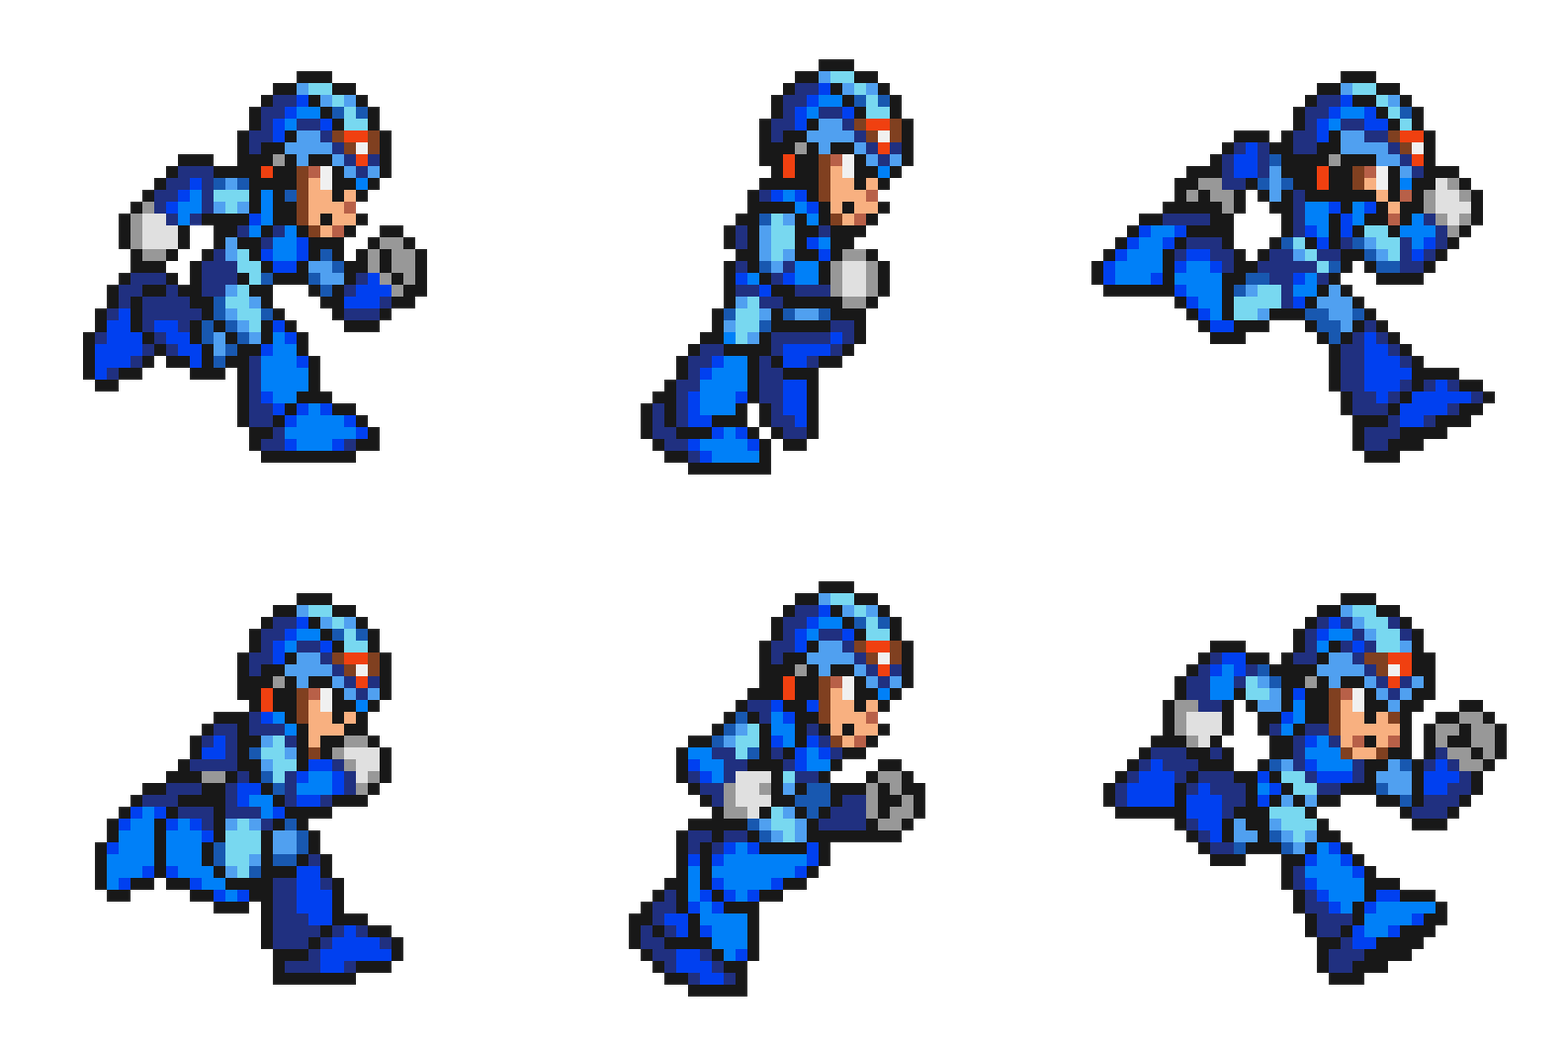
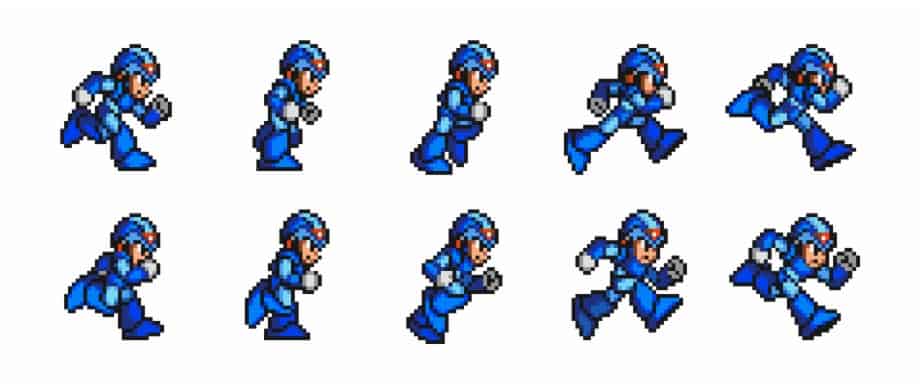
Game developers often use sprite sheets for animation, by rendering different images contained within a single sheet in the correct order. The sprite sheet contains two parts- frames and cycles.
Say you have a character walking, there will be different images on the same sheet of the character with their limbs in different positions. A cycle refers to the activity that your character is doing, i.e. walking cycle, running cycle, attacking cycle, etc. Each cycle is composed of various images.
The more “samples” you have per cycle, the smoother your animation will be (and also consume more resources). You can get by with as few as 3 different sprites per cycle, like for idle animation when your character is just standing around (works in retro games with pixelated art design).
Or you can move things up to 24 for a smoother cinematic feel. The game engine will call upon the appropriate cycles after taking player input, as well as collision data. High-quality animations will require some coding and tools like Unity or Godot, but you can create basic animations with JavaScript and HTML5.
There are some basic rules to follow in order to create good looking animation. You need to make sure that your characters never feel stiff. The character needs to feel like it is moving even when standing still. Make things bouncy and try to animate hair or clothes blowing in the wind.
Give your characters facial expressions, which brings in some personality. Another really helpful tip is limiting the number of frames. This may seem counterintuitive at first, since more frames = smoother animation. But too many frames will reduce the impact of your character’s movement, over-flourishing the end product.
They will also spoil the timing and tone of your character. Finally, make sure that your animation has really good keyframes and silhouettes. Test stuff against a white background to ensure that you can read the movements easily.
The Importance Of Using Sprite Sheets

Enhancing Performance:
A sprite sheet combines multiple sprites into one single image file. This improves performance significantly, by reducing the draw calls. Perhaps the strongest case supporting the usage of sprite sheets is all the rendering time you’ll save on textures.
Say you’ve got 60 textures for 60 different objects on the same sprite sheet, all of these objects can be drawn in one single draw call. With individual sprites, your graphics processor would have to do a lot more work preparing each sprite before drawing. It’s usually faster to draw 200 objects as part of one large sprite sheet than to draw one sprite 200 times.
Let’s explain this in simpler terms. Imagine the graphics API for your game is an artist, in our example it is OpenGL. So, OpenGL will paint a game scene by taking data from the frame buffer. Your game code will tell OpenGL what to draw, and where.
It will give OpenGL 3 important bits of info- which sprite to choose, what part of the sprite to draw, and finally the location on the scene where the sprite has to be drawn. The game will then wait till the sprite has been drawn, after which new commands will be processed. The faster these sprites are drawn, the higher your framerate.
This method of doing sprites one by one results in plenty of communication overhead. Instead, we could use a sprite sheet which contains all the sprites in one place. And an additional module called the sprite atlas. There is a list of source coordinates telling OpenGL which sprites to copy, and a list of destination coordinates telling OpenGL where on the display to draw them.
Now all the sprites within the scene can be handled with much fewer instructions, which gives our game time to do other stuff like handle player input or calculate collisions.
Reducing Memory Usage:
Now let’s take a look at how sprite sheets can help you save on memory usage. Say you’ve got a side-scrolling adventure game, and one of the scenes is made from several movable objects- trees, flowers, birds, animals, and the main character.
These movable 2D objects are made of sprites. And a sprite is typically represented as a rectangular image with a certain width and height, measured in pixels. In our case, let’s assume the main character’s sprite is 100 pixels tall by 100 pixels wide. Combine that with a color depth of 32 bits, and we get a total memory requirement of (32 bits/8) x 100 x 100 = 40kB. We divided 32bits by 8, since 8 bits= 1 byte.
And the result in bytes is divided by 1000 to give us kB. Here’s the deal- your graphics hardware is only going to support specific sprite sizes. This means that a sprite will often be padded with filler pixels to support hardware constraints. So your nice little 40 x 40 pixels might end up turning into a 256 x 256 pixel square sprite which takes up a lot more memory (over 256kB compared to 40kB previously).
Still not that big of a deal since modern hardware like an iPhone X or Galaxy S10 has plenty of RAM to go around. But games have several dozen sprites within each scene, ranging from characters and props to buildings and vehicles.
All of this adds up fast, and you end up wasting resources for no reason. A sprite sheet alleviates most of these problems by packing additional sprites into the wasted filler space. You now have a single unit- the sprite sheet, instead of bloated individual sprites.
Things are compressed further by removing transparent bits from the sprites. You can even reduce the color depth from 32 to 16 bits and make up for the loss in color accuracy by applying dithering.
You will need some specialized tools to create your own sprite sheet, here are a few- Texture Packer, ShoeBox, Zwoptex, and Sprite Sheet Packer. Or if you’re using Unity to develop your game, there are built-in features to assist you with the creation of sprite sheets (Sprite Editor).
Conclusion
Sprites are an indispensable tool when it comes to designing 2D indie games and retro games. They can be implemented in various game genres such as sidescrollers, platformers, 2D RPGs, and fighting games. A lot of web games that you play in the browser use sprites.
Learning how to create and use them will help you significantly on the path to becoming a professional game developer. There are plenty of online resources to help you along. Hopefully, our article provided a good general overview of what to expect.
There are websites where you can download free graphics assets, including sprite sheets- kenney.nl, OpenGameArt.Org, itch.io, etc.
